备战2018长微博图片怎么做到的归纳总结(实战篇)
编辑: admin 2017-12-07
-
4
我们刷微博时经常可以看到长微博图片,自己也想制作的话,该怎么办呢?其实很简单,Word就能搞定!

工具/原料
Word软件方法/步骤
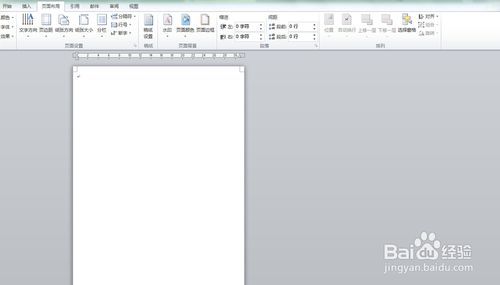
1首先,打开Word软件;
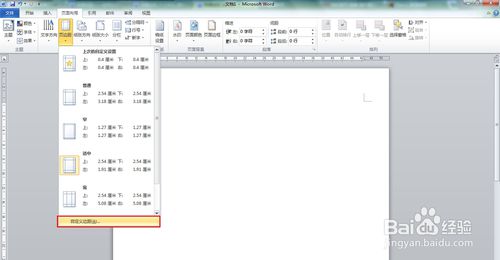
2切换到“页面布局”模块,点击页边距,选择下拉菜单中的“自定义页边距”;
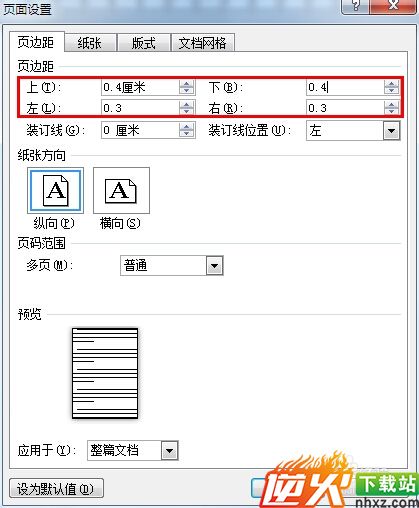
4我们设置页面上下左右的页边距,将页边距设置为0.3或0.4左右即可,此处我们设置上下页边距为0.4,左右页边距为0.3,可以根据个人习惯调整;
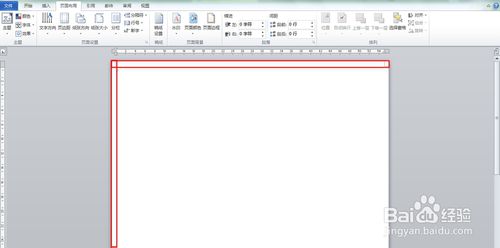
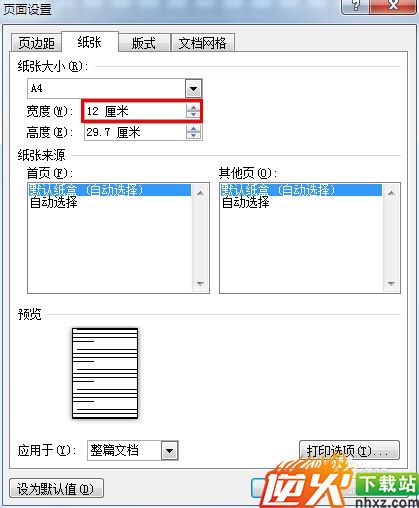
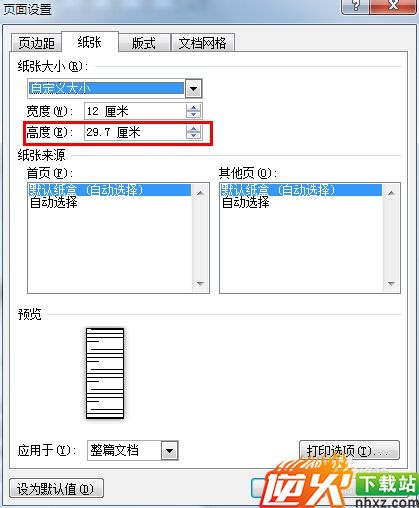
5页边距设置好后,我们设置纸张大小,点击“纸张大小”,选择“其他页面大小”;
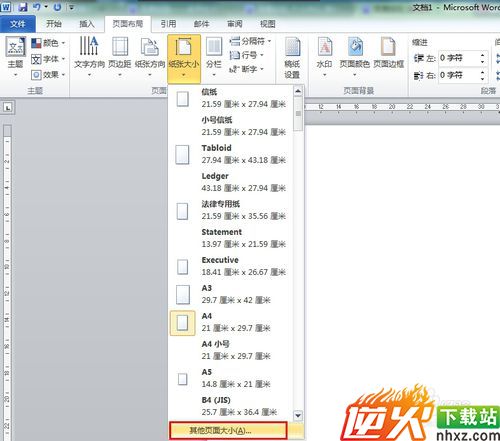
6我们将宽度设置为12厘米,长度暂不修改,待我们将微博内容全部填入后再做调整;
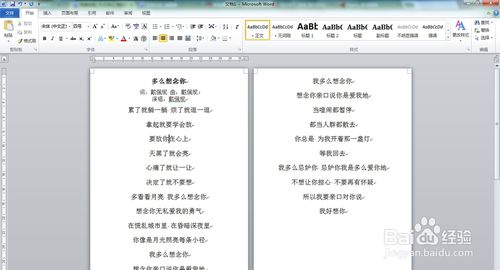
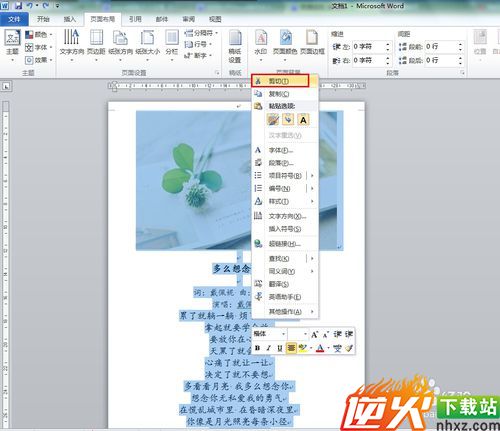
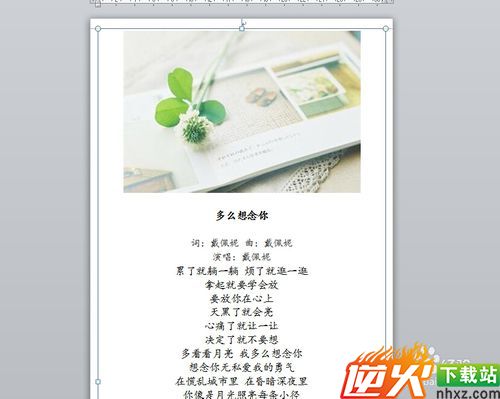
7接下来,我们放入我们长微博的内容;
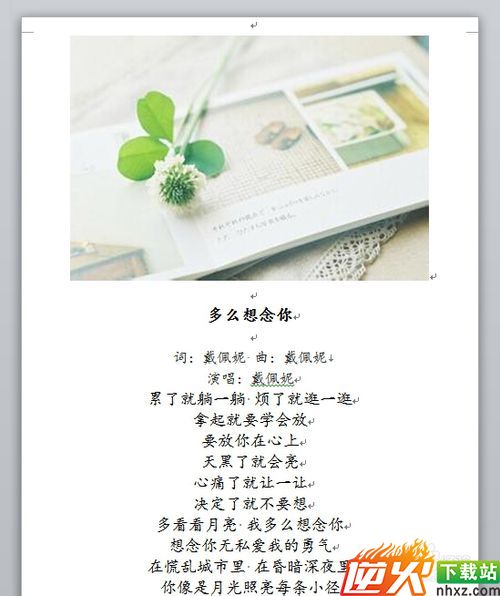
8做适当的修饰;我们可以修改字体、插入图片,美化这篇长微博;
9接下来,我们再来修改页面长度,点击“纸张大小”,选择“其他页面大小”,页面长度至一页;
10我们按下“Ctrl+A”两个键,将所有内容选中,点击鼠标右键,选择“剪切”;
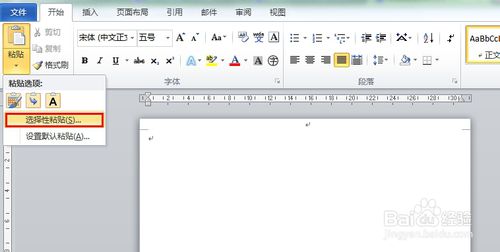
11在“开始”模块,点击“粘贴”下方的倒三角,选择“选择性粘贴”;
 1
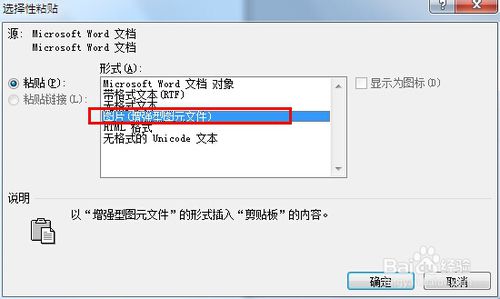
11在弹出的对话框中,形式选择“图片”,点击确定按钮;
 1
12这样,我们就看到一张图片粘贴在Word文档中了;
 1
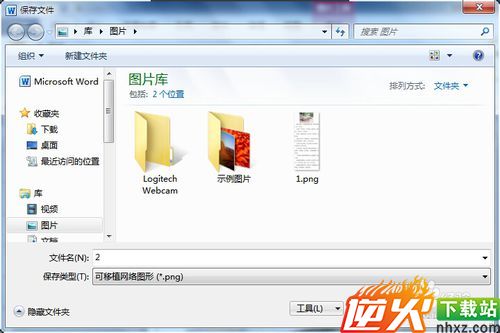
14我们对图片点击右键,选择“另存为图片”;
 1
15我们在弹出的对话框中,选择保存位置和名称,点击“保存”按钮;
 1
16我们在之前选择的保存位置,就可以找到我们制作的长微博啦!
