备战2018时尚人像后期修饰教程归纳总结(实战篇)
编辑: admin 2017-12-07
-
4
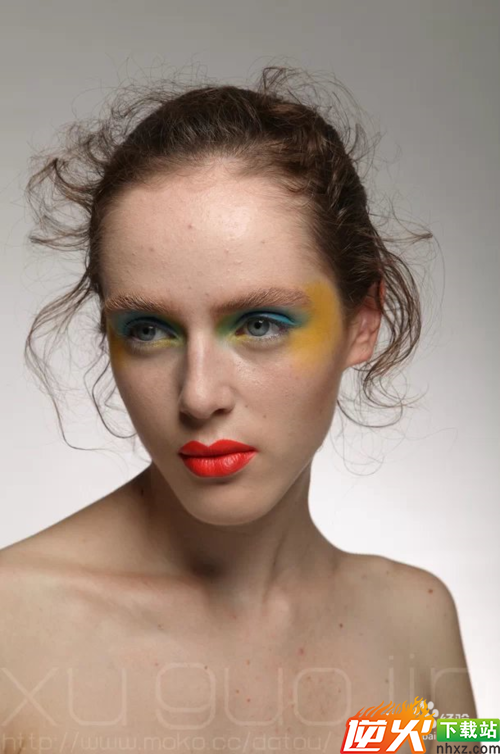
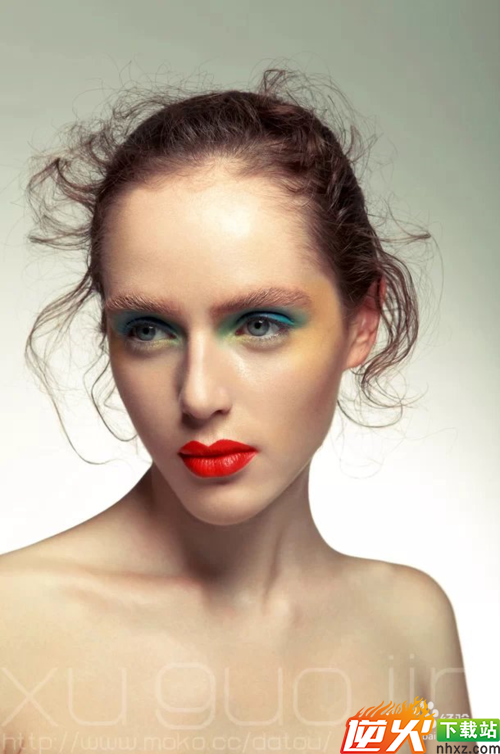
妆容图片修饰时,我们要了解人脸结构进行轮廓的美化.然后分析光影, 为了不破坏皮肤原有的质感纹理. 我们使用双曲线修图法修复影调。
工具/原料
ps方法/步骤
1妆容图片修饰时,我们要了解人脸结构进行轮廓的美化.然后分析光影, 为了不破坏皮肤原有的质感纹理. 我们使用双曲线修图法修复影调。
再通过调色,背景处理.添加素材等使妆容完美呈现.
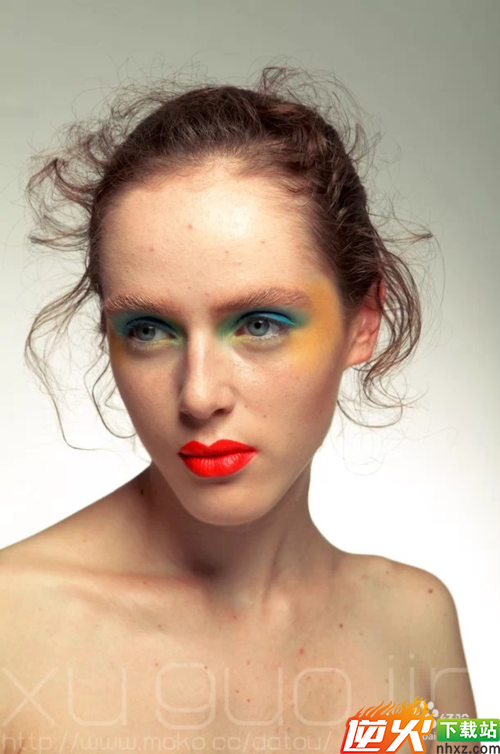
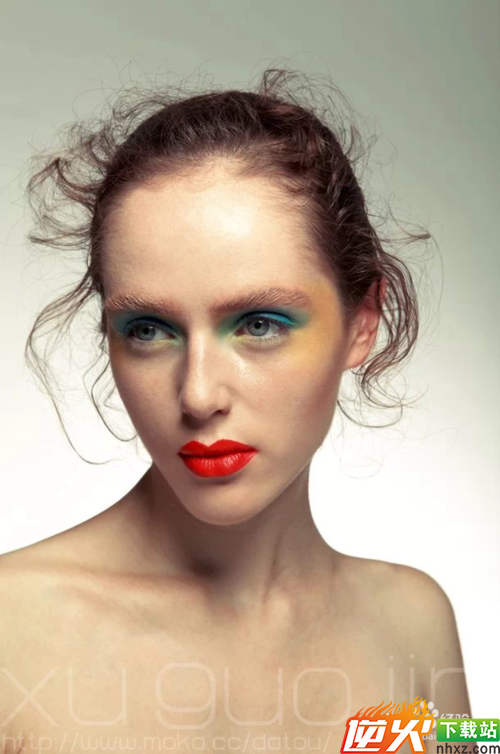
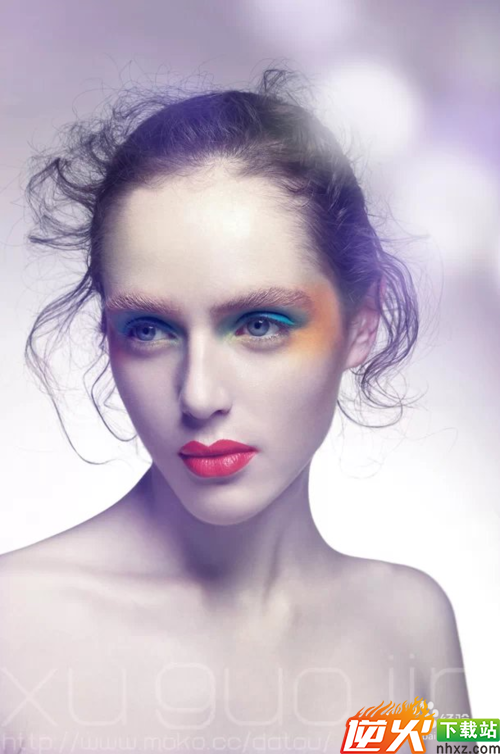
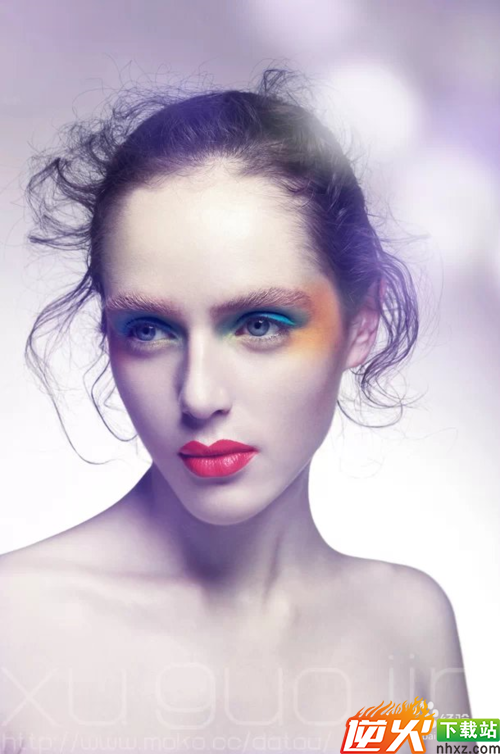
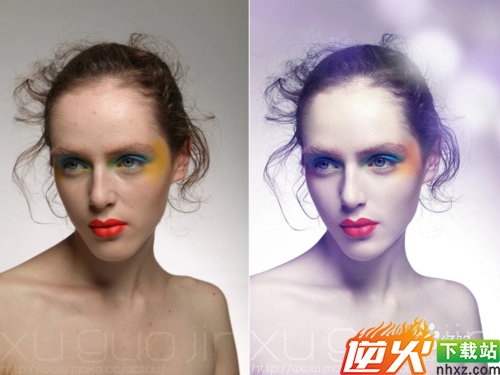
效果图及原片:

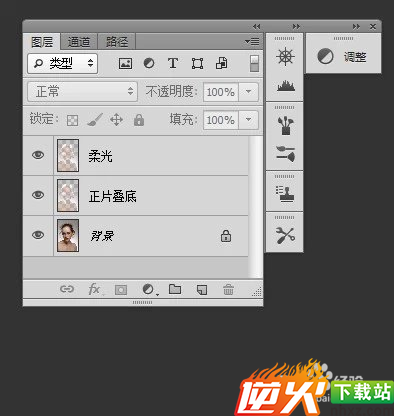
2为了压出皮肤细节.选取高光区域.复制一层.混合模式改为正片叠底. 再复制一层.混合模式改为柔光

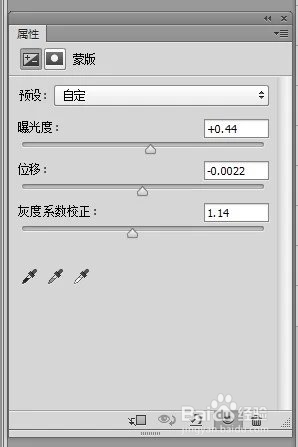
4新建曝光度调整层.适当提亮.参考数值如图
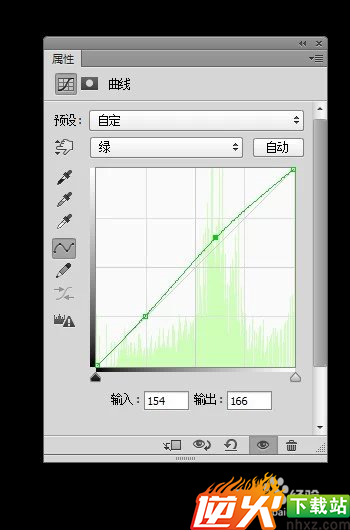
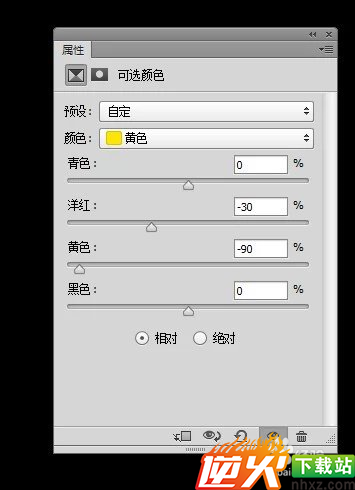
5由于肤色偏红.新建可选颜色和曲线调整层做适当调整. 参考数值如图
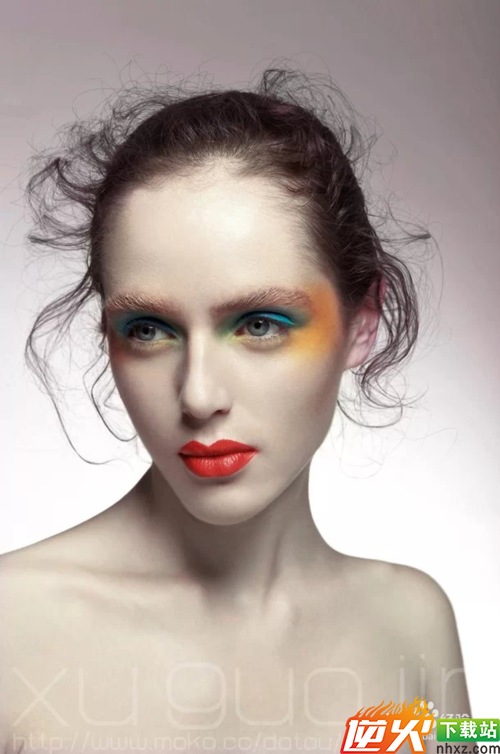
6使用修复工具去除较明显的瑕疵等
7皮肤修饰主要用双曲线.双曲线修图教程网上已经很多了,在这里我不详细介绍了,主要把皮肤的光影和质感表现出来
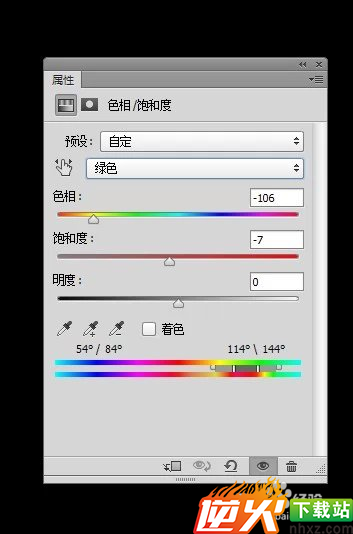
8为了添加素材后的画面干净.先新建色相饱和度调整层使色彩统一.参考数值如图

9添加素材一.混合模式改为滤色.

10添加素材二.截取需要的部份,混合模式改为滤色

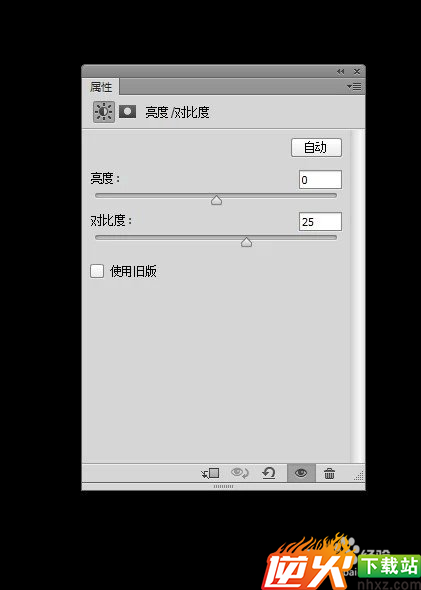
11新建亮度对比度调整层. 加强对比.参考数值如图
 1
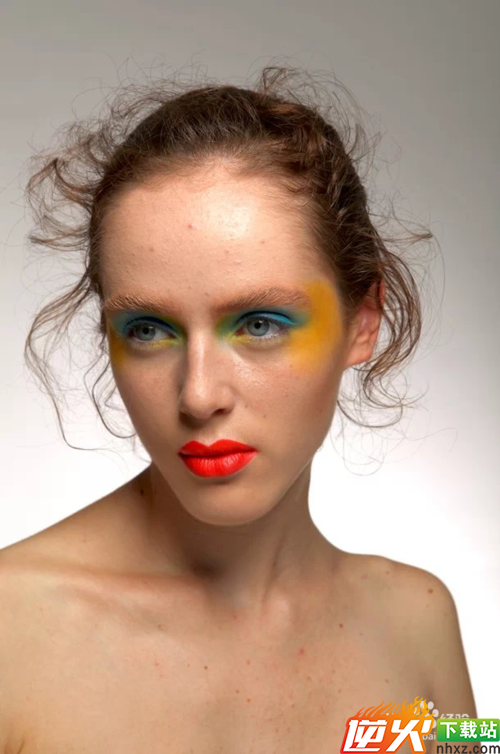
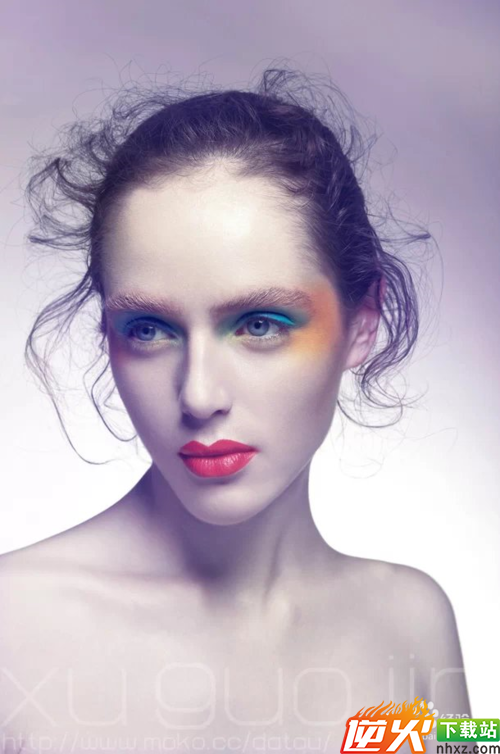
11通过液化对整体脸型,头型,嘴型等做细微稍整 。
完成对比图!
 原作者:修图师国金经验内容仅供参考,如果您需解决具体问题(尤其法律、医学等领域),建议您详细咨询相关领域专业人士。