备战2018薰衣草庄园照归纳总结(实战篇)
编辑: admin 2017-12-07
-
4
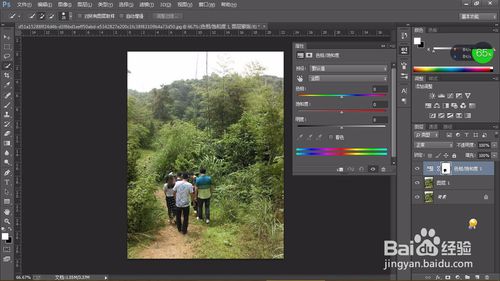
有时我们拍的照片达不到我们想要的效果,我们明明想要浪漫的效果,使照片有一股薰衣草的意思,但是我们拍出的照片确实带有冷效果的绿色,不怎么符合我们的思想,下面我教大家将绿色变成浪漫的薰衣草紫色。


工具/原料
ps软件耐心方法/步骤
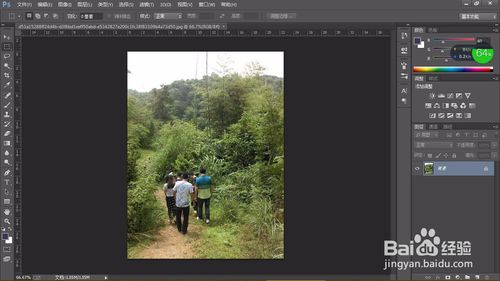
1打开ps软件,将我们的素材图片导入。因为我们要将它进行编辑,进行大变身。
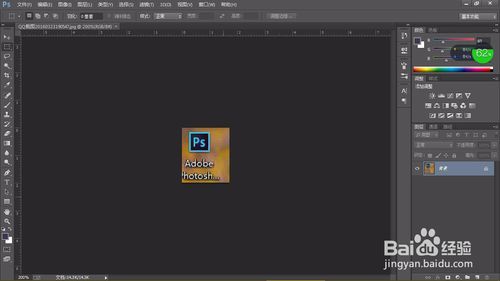
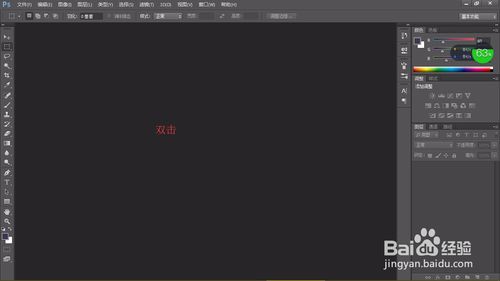
2具体导入素材的方法是我们双击画面,之后选择我们的素材就可以啦。
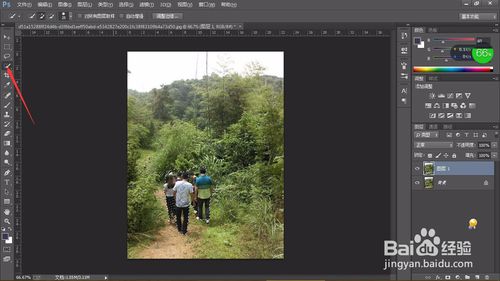
4编辑图片会对图片造成永久的破坏,所有我们需要将图片素材复制一层,在复制的这层上进行编辑。

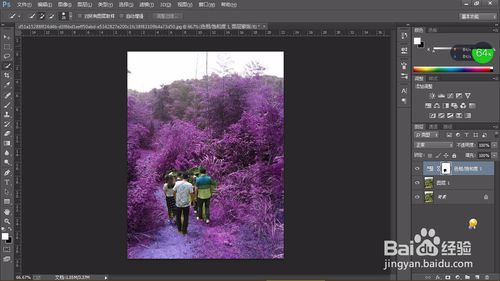
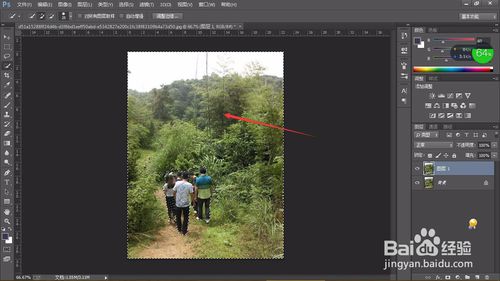
5利用快速选择工具将图片中的人物选中,选区是我们可以编辑的,但是我们要编辑的不是这部分选区所以我们要反选一下就可以啦。

6打开色相,饱和度,向左调整色相的滑块之后,图片颜色改变了,就变成了我们想要的效果。大体就是这样,大家做的时候一定要仔细,一副好的片子细节是最主要的。